Tuesday, April 10, 2012

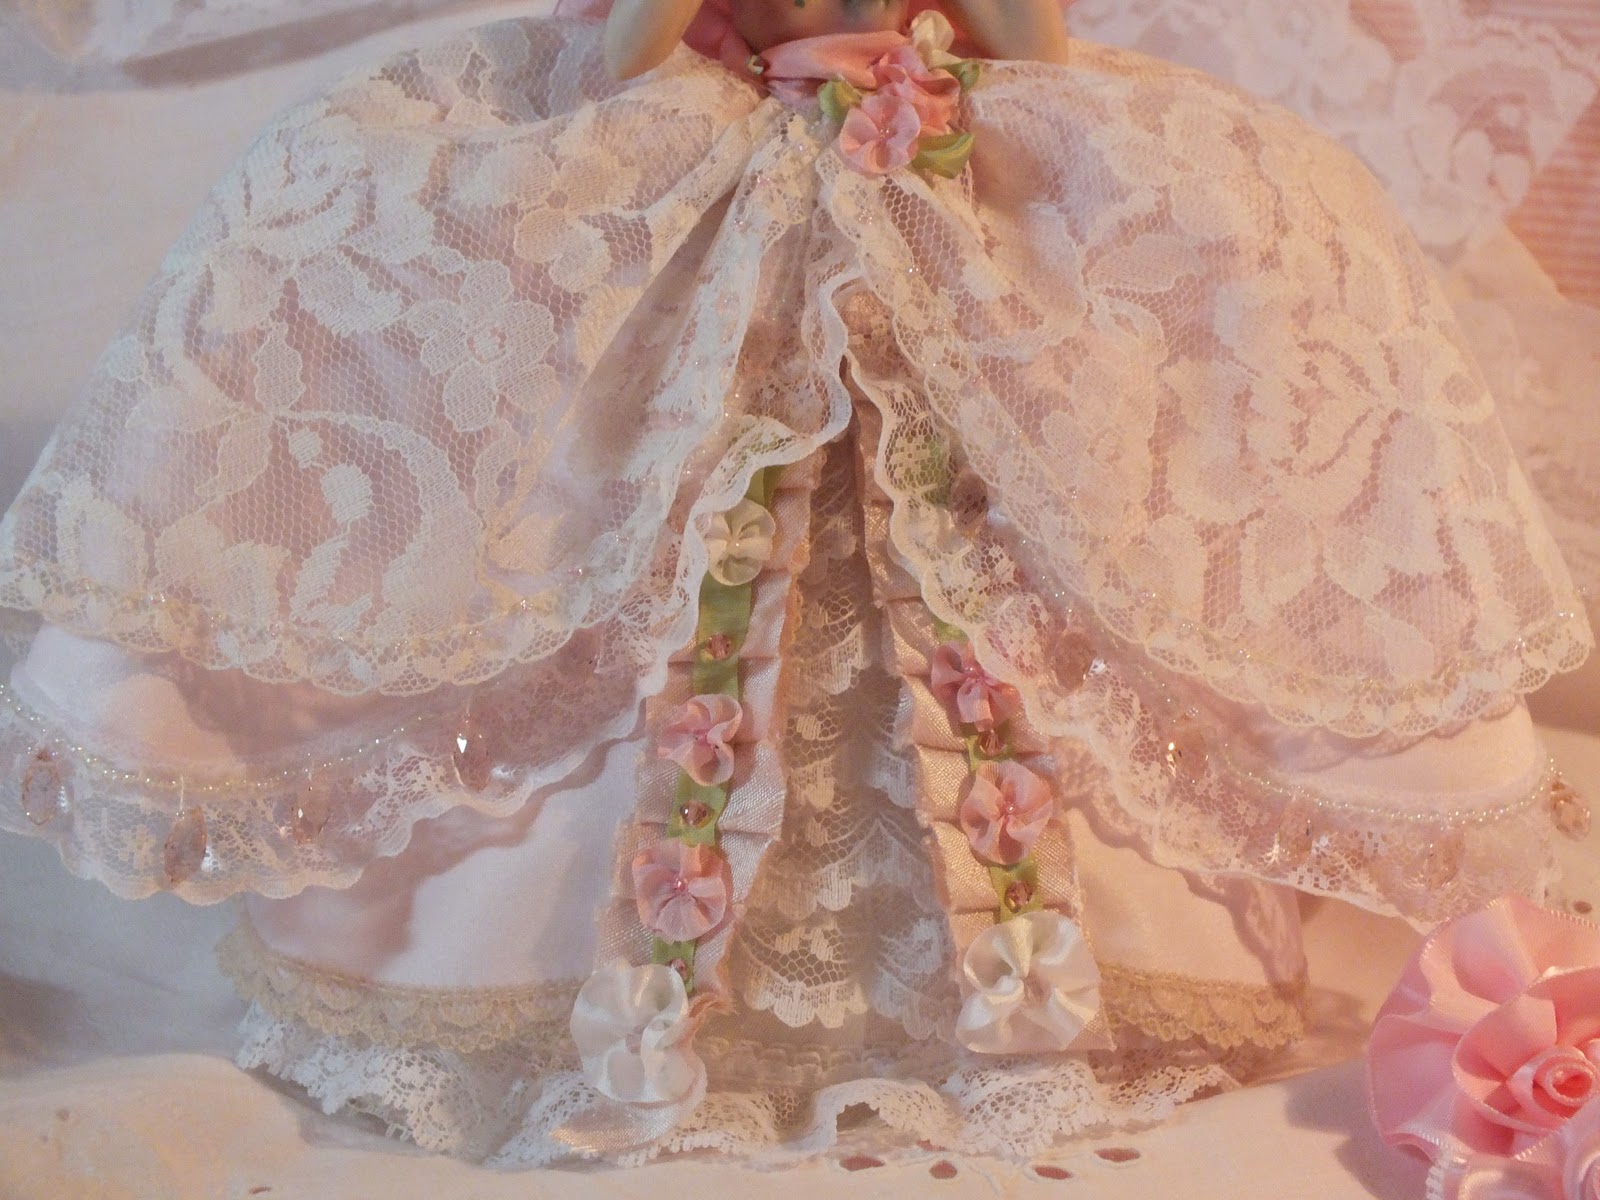
altered lamp shade

Roses and lace, cover this altered lamp shade. I used
lace to cover the whole shade and then fussy cut the
roses, and glued them on.
                                                                                     I tried to follow a wave pattern all the way around  
with the roses.
close up of the roses and the double ruffle, I used a crocheted lace for the under ruffle, and a curtain ruffle for the sheer over ruffle

Sunday, April 1, 2012

Free digital art

I have noticed many people on line are giving away free digital art. This is my contribution to that effort. If you like it use it. I am just learning how to use digital  programs and so far this is my best go.

Thursday, March 29, 2012

Frame this

 I have had these frames for a few years, yes I know.. but it took me a while to figure out what to do with them. I originally bought them to cover them with flowers, inspiration from one I saw in a very upscale shop. I couldn't get it to look right so I went the mixed media route, and I think they turned out very nice.
 I copied the Paris wall plaque you can see on the left and then decoupaged it to the frame. I love the way Paris and the Eiffel tower look.
 I also thought a Marie Antoinette style picture would look nice in it and the colors really look pretty good together.
   Frame #2.   I printed a lot of things from the Graphic Fairy on regular paper, and decoupaged them on and  I  haven't decided if it needs to be antiqued a bit to pull it all together.
The graphic Fairy has so many wonderful images and I love the labels and the script pages they all work together so nicely.
The picture of the merry-go-round horses came with the frame, and I haven't decided what to put in it instead.  Point of interest, Merry-go-rounds travel different direction in different countries clockwise in one, and counter clockwise in the other I don't remember which is which.
 I have been in a bit of a creative slump and haven't done much but I thought I would share these.

Monday, February 27, 2012

Paris wall pocket made from swap supplies

 My Paris wall pocket made in the BoHo style from the supplies from my swap partner.
 I made the main roses of the print fabric she sent dimensional by cutting out ones like them and adding singed tulle and embroidering the centers with french knots and sewing them over the ones on the fabric.
 This is the pocket to the left here, I sewed the Marie image that was sent to some brown silk and added the flowers and leaves  made from ribbons.
t
 This shows the lace used for the bottom ruffles,  the bottom lace which is also the longest has tulips on it, and tulips were part of the floral pattern on the fabric. I cut out some of the flower motifs and let them cascade down the lace, I also used the rayon seam binding from the kit and made the swags.
 Isn't this a pretty package, I love the paper it was wrapped in. I am saving it for future crafting projects.
And here is what was in the package, as you can see it is enough for several wall pockets. Terri is always very generous, and has excellent taste.  TTFN Wanda

Wednesday, February 22, 2012

Paris wall pocket swap for MAMA group

 My online art group has many swaps, this is one I hosted and I had 2 partners. I have already posted the other one.
This partner likes the pinks and creams as do I, so this was a fun one to put together. 
 I so love the image of the girl in pink it works up real pretty, this one is printed on silk material, the card has French style  entredeux lace and pink and cream silk ribbon.
 The rose buds were something new I tried, I used silk ribbon and embroidered them on ribbon and voile material, I am hoping she can sew them into her design and have it look wonderful.
The other image of the girl in the pink dress also printed on silk is one of my favorites it is so delicate.
I sent 2 different rose print materials for the body of the wall pocket with some sheers and lace and a collaged piece to use as a pockt if that is what she chooses. I also sent a bag of snippits of ribbons, lace and such to use to trim her pocket. There we have it my two kits for my 2 partners for the Paris wall pocket swap. TTFN

Saturday, February 18, 2012

Paris wall pocket swap for MAMA art group

 My on line art group is having a swap for a kit to make a french style wall pocket, and I am hosting the swap, this is the first time for me to host with this group. It was a fun learning experience. It is always more fun to have partners and as we had an uneven number, I got to have 2 partners. This is the kit I made for one of them.
 She choose the colors lavender, blue, and pink, no orange or puke green she said. lol.  So those were the colors I got to work with and they are some of my favorites as well. We were to include a Marie style image, and you can see the blue one in the picture to the right, I think this is such a pretty picture. I handcrafted the large blue flowers from silk ribbon,and the smaller ones from organdy. The center card holds silk ribbon to use as she chooses.
The image of the woman in the lavender dress is such a sweet one, and is in the right color so she can choose which one to use or use both.  We were to include lace, and snippets of useable trim, and some bling. So here it is I so enjoyed putting it together.  As I said I have 2 partners for this swap and I will post the other one soon. TTFN

Monday, January 30, 2012

Marie style half doll

 Here she is my Marie style half doll, this is for a swap on my MAMA swap group. We sent materials to our partners so they could dress their own half dolls. My partner was Tabitha.  Their are five layers of clothing 2 petticoats, and 3 over skirts.
 Here is a side view you can get a better idea of how the farthingale works to hold out the over skirts, The french call it a pannier hooped petticoat.
 A back view, it took me a while to figure  out a pattern for the over skirts, so I have many trial and error skirts I made for the final pattern, as I had to fit them to the doll and had nothing to go from.
The big pink bow is a beautiful silk ribbon.
 A close up of the many layers, I used silk dupioni ribbon for at the ruching that the tiny silk flowers I made are attached to,that is the first pink layer. The next 2 layers or over skirts are trimmed with lace, actually the top one is lace trimmed with lace and beads. I sew crystals to the middle over skirt as I read that Marie Antoinette had precious gems sewn to her gowns.
 Marie was fond of big hair do's and hats so I thought why not give it a go and try to make a hat. This was my first try and it is really one of my favorite things about the doll. I think I would like one for myself. (smile) I used some of the tiny silk flower I made and some feathers in pink, white and green.
Her sash  is silk ribbon trimmed with the tiny silk flowers.

 
 A close up of the hat, I am so pleased with the way it turned out.
 Here she is in her second petticoat, you can see the farthingale sticking out from her waist like flat wings. I made it from wire and covered it with quilt batting. Not pretty but it served its purpose
 A better view of the top petticoat. Each layer of lace was sewn on by hand.
 This is the first over skirt
Better view of the first over skirt, you can see the ruching with the dupioni silk ribbon, and the silk flowers I also added some swarovski crystals between the flowers for added bling. to bad they don't show up better.

Well there she is my first half doll. I am happy with the way she turned out and I plan on doing another one or 2 down the line, as I got 2 on ebay from England. TTFN